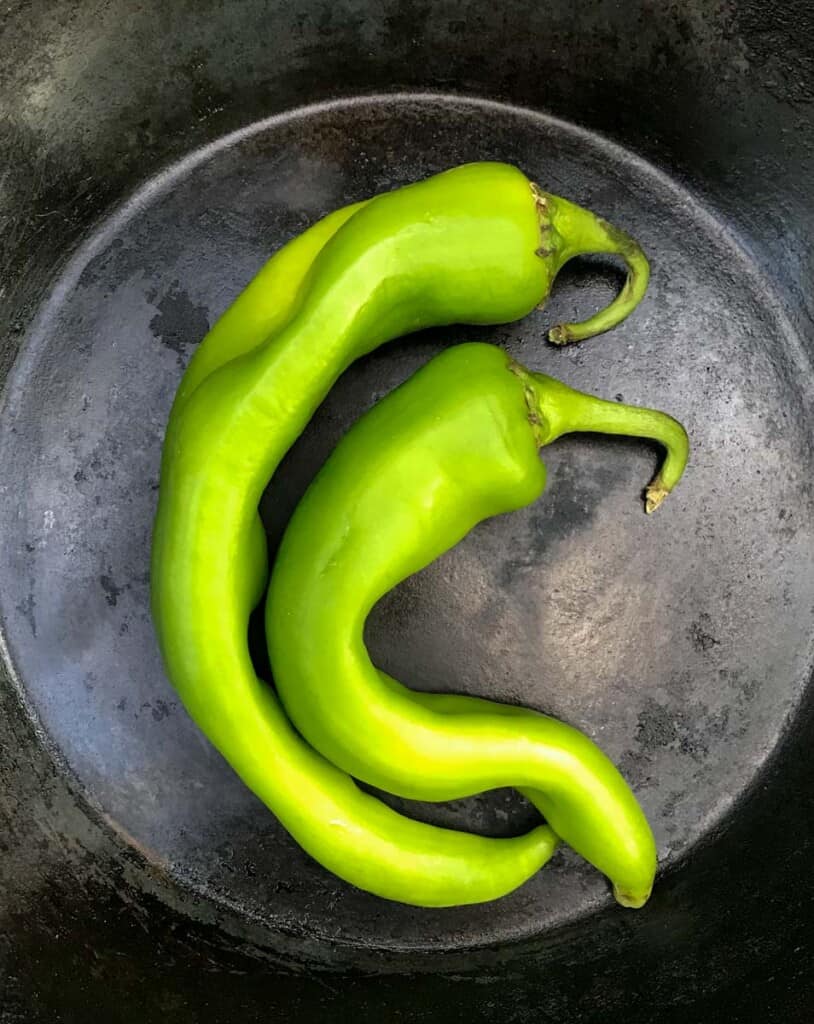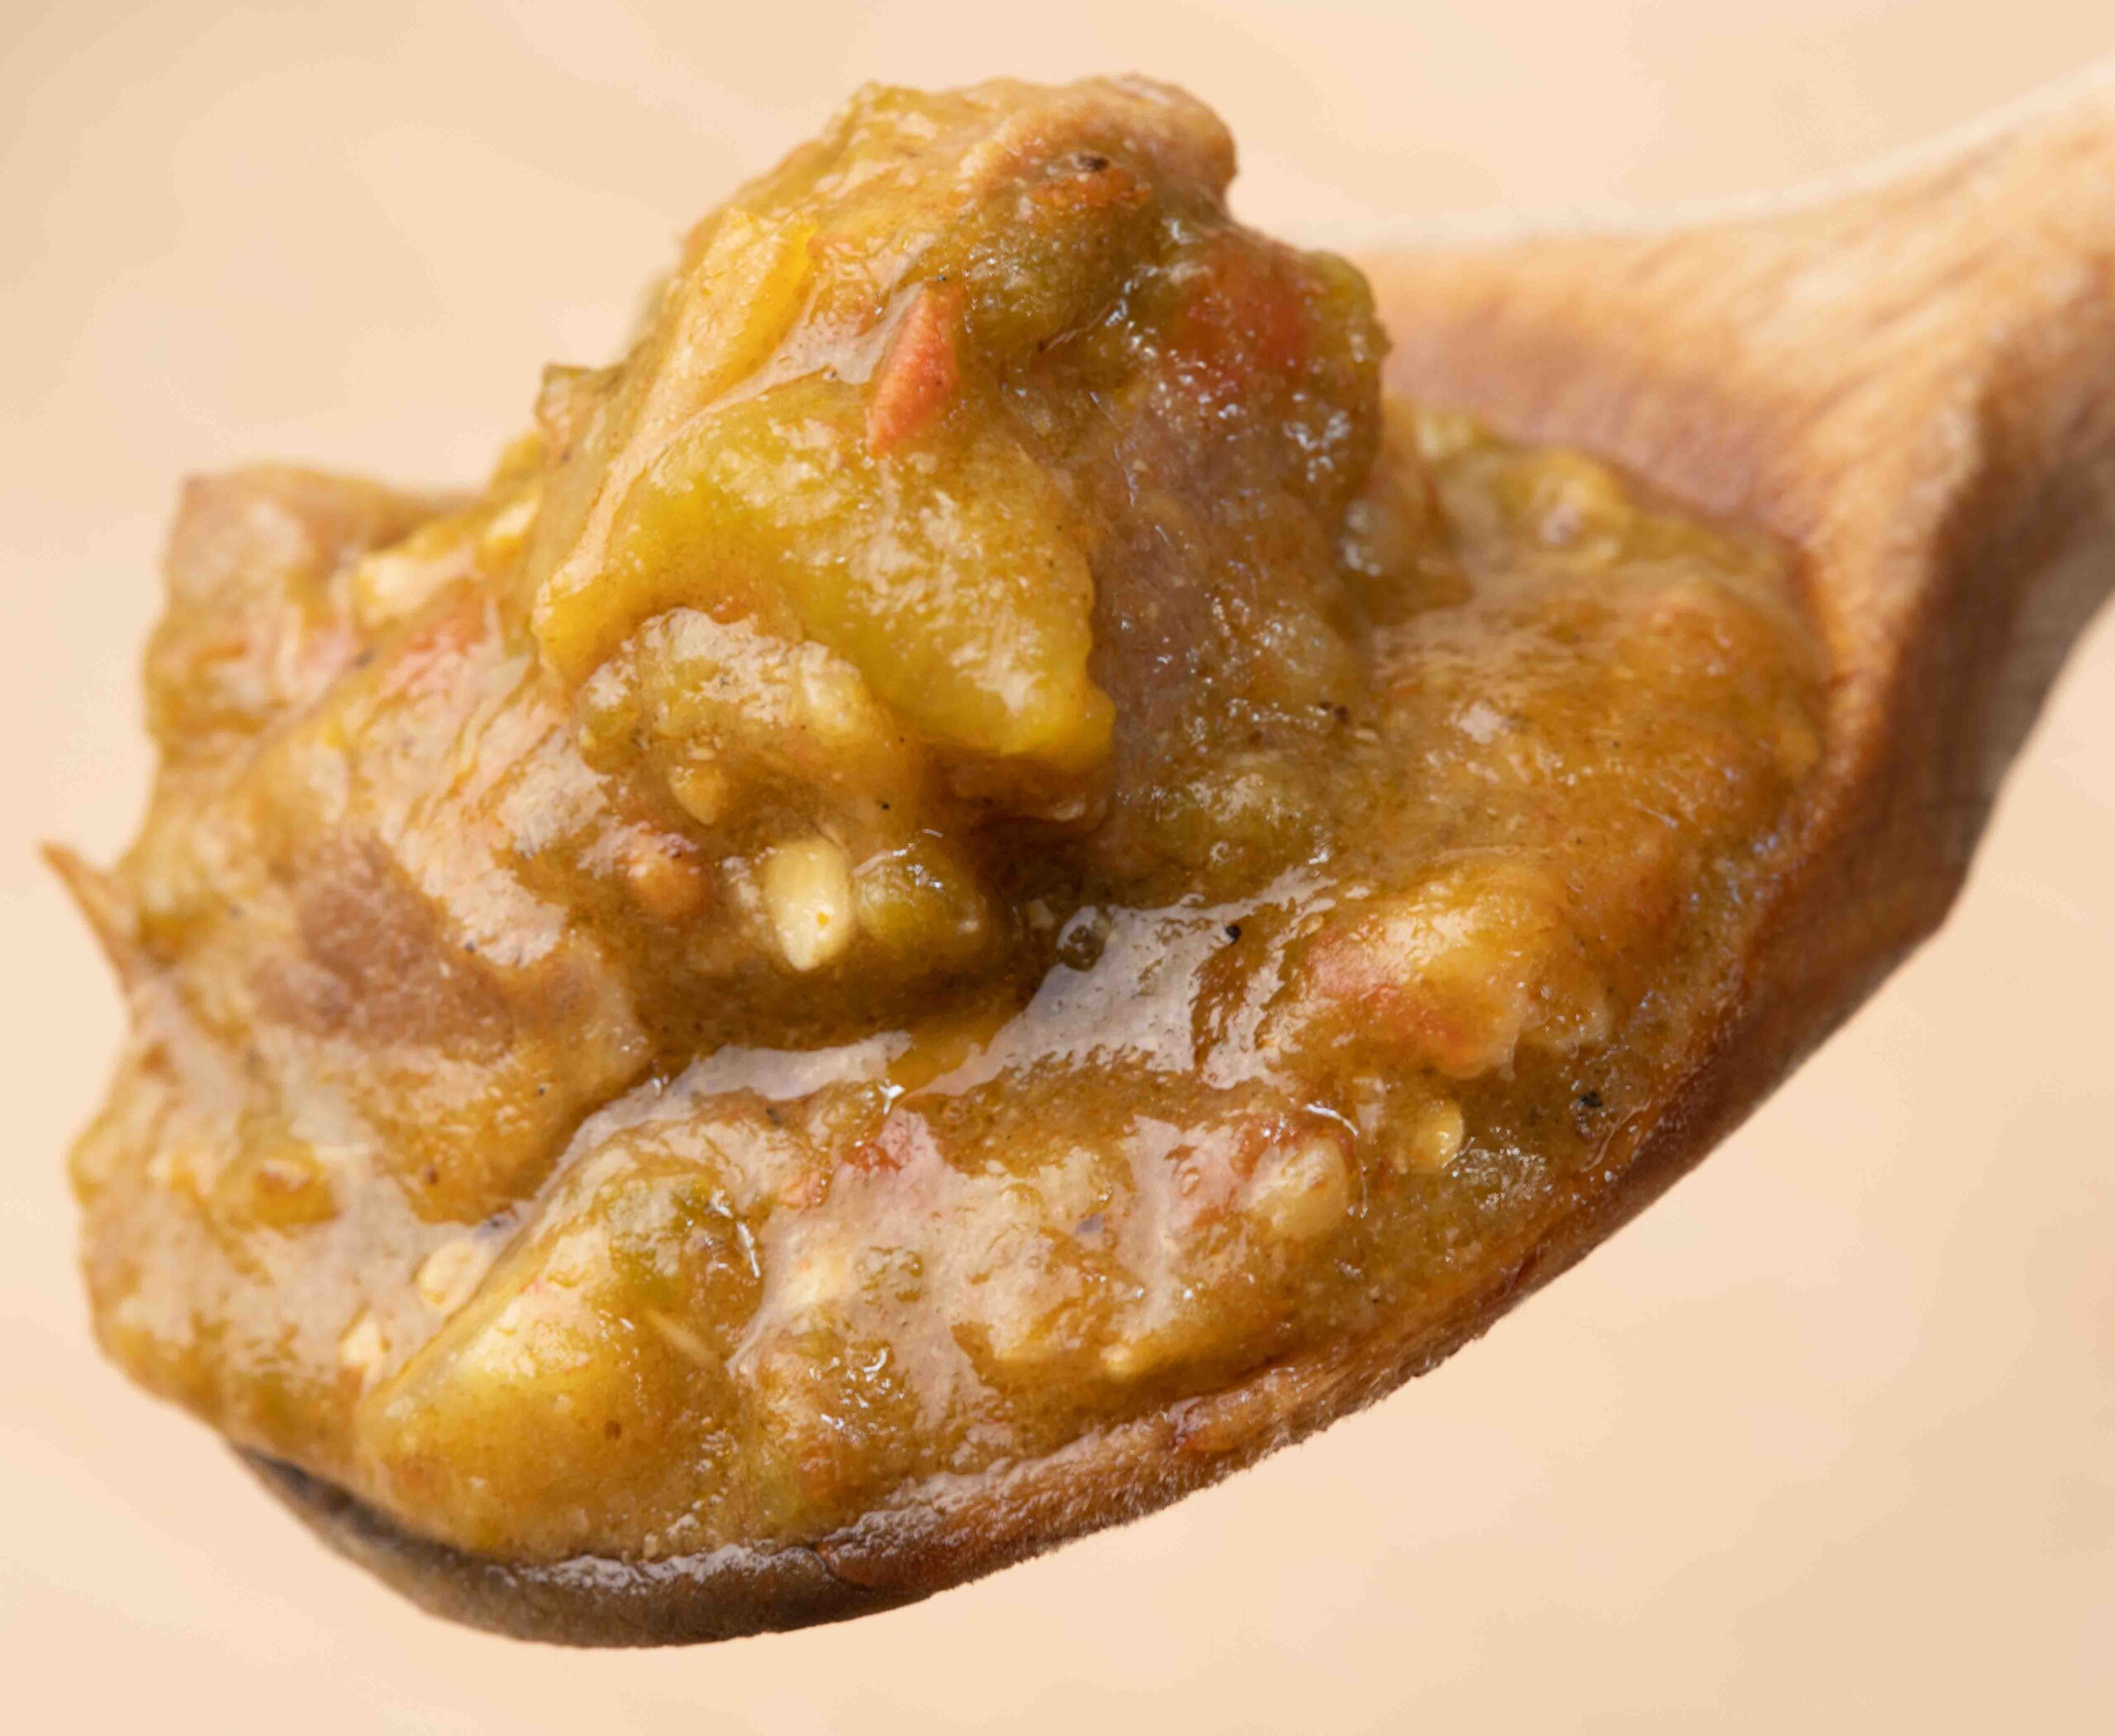
Odds are you’ve never heard of this delicious stew let alone Hatch green chiles. Quite honestly neither had I until I moved to the beautiful mountains of Colorado. Once I finally had a bowl in front of me I knew from the very first bite I was hooked. It wasn’t till many years later that I realized it had become an obsession.
THE SHORT AND NARROW
Pork Green chili is found throughout New Mexico and Colorado. The basis of which is from, you guessed it, the ubiquitous Hatch green chile. During a brief window at the end of summer the harvest of these chiles begins and roadside roasters pop up just about everywhere. The aromas of freshly roasted chiles wafting through the air is the signal to start enjoying the bounty. And it is not uncommon for people to purchase a bushels worth and freeze into smaller batches keeping the chili train rolling till the next harvest. I am one of those people. After you whip up a batch there is a good chance you will be too.
AND NEVER SHALL THE TWO MEET
Green chiles grow in California, Colorado, and of course New Mexico. These chiles originate from the same New Mexican variety. However only those grown in the hot desert sun and cool nights of the New Mexican Hatch valley produce the sweet heat characteristics that make for a world class chili verde. Both New Mexican and Coloradan chilis utilize the smokey sweet flavor of Hatch green chiles as a base. Both are usually fortified with pork (sometimes chicken) but the similarities stop here.
In New Mexico it is usually prepared with less ingredients, no thickeners, and an emphasis on the chiles. It is cooked to a saucy consistency and smothered over just about anything you can think of. Whereas in Colorado its a bit more spice forward, thicker, and eaten not only as a sauce but as a proper chili as well. As with anything there are always exceptions to the rules. What we will be preparing today will be of the Colorado variety.
IT STARTS WITH THE CHILE

Im sure by now you’ve picked up on the fact that to really have this chili pop you need to use Hatch chiles. They used to only be abundant in the southwest but have since gained in popularity and can be found when they are in season from August to September, usually freshly roasted. If for some reason you are unable to procure some or didn’t squirrel enough away in the freezer not to worry. A passable substitute is to roast off some Anaheim peppers. Adjust the flavor and lack of heat by adding a few Poblanos and raising the amount of Jalapeños from 2 to 4 or to your desired heat level.
If you have never roasted peppers it is quite a simple process. Put the oven rack as close as you can to the broiler and preheat the oven. Meanwhile take a sheet pan lined with foil and arrange your Poblanos and Anaheim’s in an even layer. Once preheated slip your sheet pan onto the top rack and set the timer for 15 minutes. Flip them halfway or when the tops are black and splotchy but be careful as the roasting times of these two peppers can vary. Watch them closely! Don’t char these thin skinned peppers completely or you’ll have tough time peeling.
Once roasted place them in a large bowl and cover with shrink wrap. This will give them a chance to steam for 15 minutes or so which will help considerably when you go to peel the skins off. When peeling and seeding chiles, DO NOT USE WATER or you will dilute the flavor you worked so hard for. A more efficient way is to rub them dipping your hands in water to remove the skins and seeds instead.
DRESS FOR SUCCESS

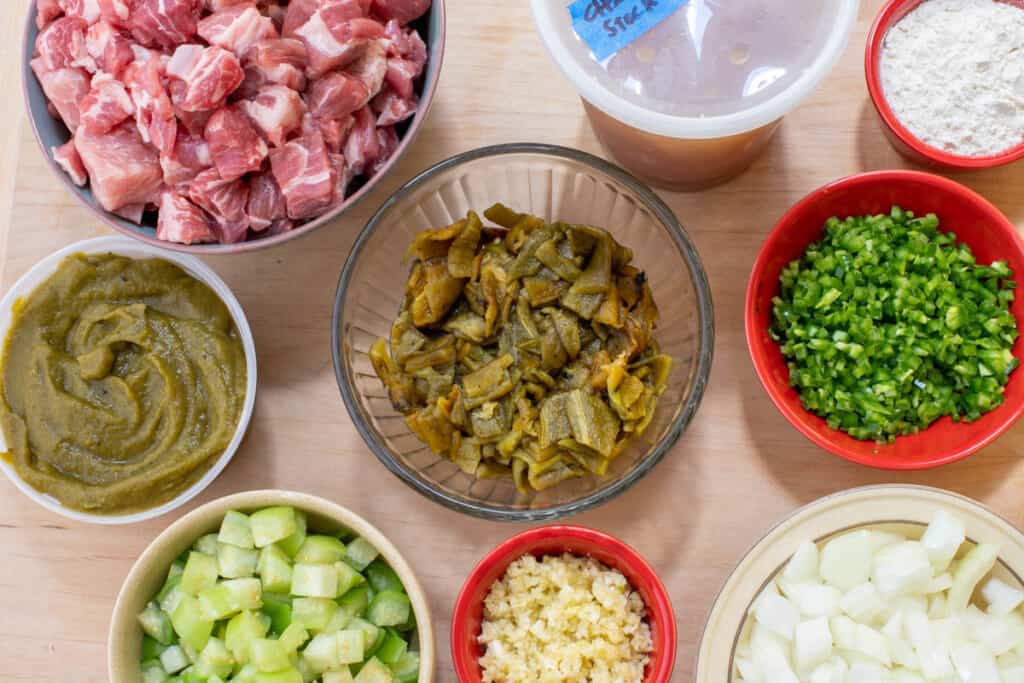
Having everything in place prepped and ready to go is clutch in cooking and especially rings true here. This is by no means a quick process so allow yourself some time! Prepping your chiles and mincing your garlic is the longest part of the equation.
Lastly the biggest factor for success is a slow even reduction. To do so requires using a lid. The main problem with a conventional lid is that you will run into two problems. If your lid is on completely the condensation drips in preventing a reduction. With the lid cracked a bit a skin will form. To prevent this, employ the parchment paper lid. Its a very simple lid made of parchment paper cut to the size of your pot with a hole in the center to allow steam to escape, reducing your chili slowly. Best of all its a cinch to make. Place it directly on the surface and marvel at its efficiency.

PORK GREEN CHILI – CHILE VERDE CON CERDO
Equipment
- 1 sheet Parchment paper
Ingredients
- 3 lbs. pork butt cut into ½ in. cube (really any pork cut, especially the fattier cuts)
- 6 tablespoons rendered bacon fat or lard
- 1 large yellow onion chopped
- 1 head garlic minced
- 6 heaping tablespoons all purpose flour
- 1 14.5 oz can fire roasted diced tomatoes drained
- 2-4 cups roasted Hatch chiles w/ stems, skins and seeds removed (the more the merrier)
- 3-5 large tomatillos diced (husks removed and sticky residue washed off)
- 1-2 jalapeños finely chopped (to your spice level or omit)
- 5 cups chicken stock/broth (1 quart stock/broth and 1 cup water is fine)
- 2 tablespoons or to taste chile powder (really any chile pow you have on hand)
- 2 tablespoons or to taste cumin
- 2 tablespoon kosher salt
Instructions
- Place a large pot, preferably a dutch oven, over med high heat and add choice of fat. Once hot and barely smoking add onions and garlic. Give it a good stir and sweat for about 4 minutes or until onions have softened a bit.
- Add your pork and give it a good stir mixing everything together. Cook pork for about 10 minutes to get some nice brown color stirring occasionally to make sure nothing burns.
- While pork is cooking dice the Hatch chiles. Take half and buzz up in a food processor or blender till smooth. If using a blender add a small bit of water if necessary to get it going.
- Add in the flour and again stir everything fully incorporating the flour.
- Pour in a small bit of the broth and let bubble scraping the bits off the bottom with a wooden spoon. Keep adding broth in small bits and scraping until all 5 cups have been added.
- Bring to a boil stirring and scrapping the bottom occasionally to prevent any sticking or burning.
- Add in tomatoes, Hatch chiles (chopped & pureed), tomatillos, and salt. Next add half the jalapeños, chile pow, and cumin and bring to a simmer. Taste and add more if you like to your desired taste.
- Make the parchment paper lid and place on top. Pressing from the center out make sure it is directly touching the chili and the sides are flush with the pot. Maintain a gentle simmer for about 3-4 hours STIRRING OFTEN as the bottom will burn. The exact time is dependent on how reduced and thick you like your chili.
- Once you have reached you desired thickness adjust your seasoning. It will take a generous amount of salt and pepper. I find that usually it will take a couple tablespoons of salt. Add a bit at a time and taste until the flavors pop. If you think it could use more cumin and chili pow add some! Take her off the heat, let cool slightly, and ENJOY!
Notes
- Omit pork, substitute canola oil for bacon fat (against my better judgement), and replace chicken stock with vegetable stock or water to make vegetarian.
- Keeps wonderfully in the freezer!


Hi, this is a comment.
To get started with moderating, editing, and deleting comments, please visit the Comments screen in the dashboard.
Commenter avatars come from Gravatar.