There are few things to keep in your pantry that add great depth of flavor, last basically forever, and most importantly are a cinch to make. The magical ingredient? Pickled lemons, known more commonly as preserved lemons. What’s the catch? Time, and about a month of it. The good news is that it is time which more or less is completely hands off. Sure you could buy a decent jar, but why not take 30 minutes, save yourself a couple bucks, and create your own that blows away anything you could source.
Its all about preservation
Curing lemons began as a way to preserve and enjoy fresh lemons long after the growing season had concluded. The result: a much more intense, savory, umami packed, lemony flavor. The best part being the lack of pucker inducing acidity. North African and Middle Eastern cuisine are the most common places to find them deployed. However these flavor packets can be subbed in just about anywhere you would add a little fresh lemon.
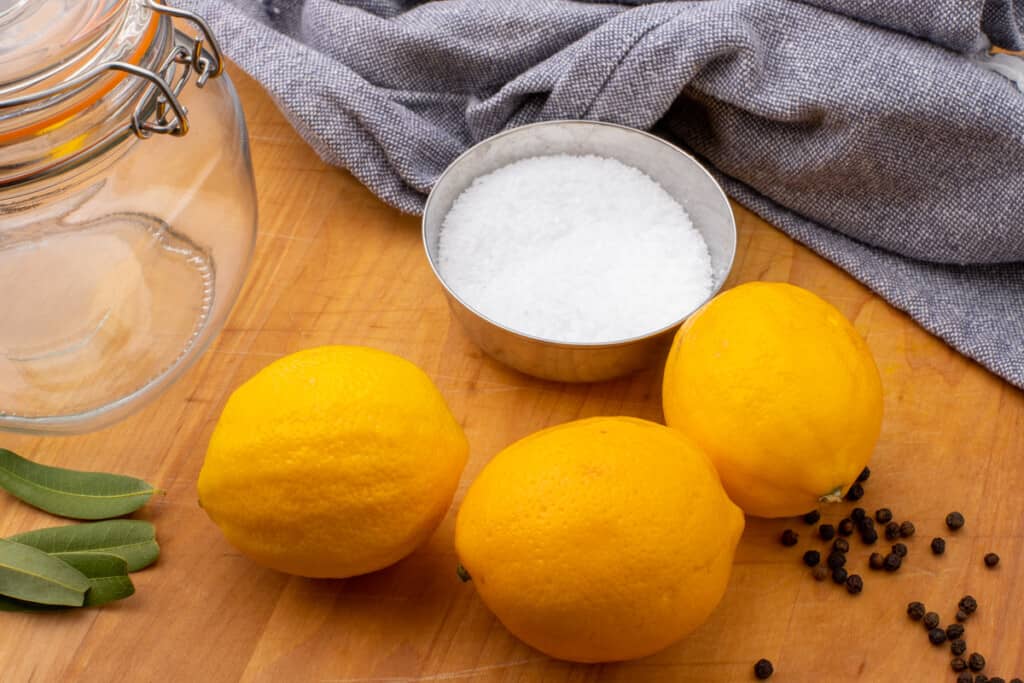
There are only three components that are clutch in making preserved lemons. Lemons (duh), salt, and a container to hold ’em. Stick to these basic three components to give your lemons a little more flexibility when cooking with them. If you’re looking to amp up the savory component a bit follow the recipe listed here which simply adds a couple bay leaves and a few black peppercorns. If your feeling frisky, I’ve seen anything from rosemary, fresh red pepper, turmeric, cloves, mustard seed, just to name a few. For your first foray making and using preserved lemons follow the recipe below or simply use salt and lemon alone and get a feel for how the flavors affect your dishes.

The other big factor to take into consideration are the lemons themselves. Meyer and regular (known as Eureka or Lisbon) lemons are the most common. Meyers are thought to be a cross between lemon and mandarin orange making them a bit sweeter than the more acidic regular lemons. And while either will absolutely make great preserved lemons, I find the Meyers edge out the regulars.
A multitude of uses
Once your patience has payed off its finally time to put these little gems to use. And at first it might seem like a completely foreign ingredient. However understanding the difference between the rind and the pulp will help greatly. The most concentrated flavor lies within the rind, while the pulp has a much more of a salty punch. A brief rinse of either is a good way to lessen the salty impact and will not affect the flavor at all. As with anything there are differing opinions on using just the rind or the pulp as well. After all that time why wouldn’t you use the entire lemon?
If your just dipping your toes in the pool, I would suggest using the rind first. It is much more user friendly and is a bit less salty. Try adding the finely minced peel to liven up a vinaigrette or toss some with roasted vegetables. Fresh sauces such as pesto, mayo or a simple pan sauce all play nice with preserved lemons as well.
Once you have your arms around using the peel, start to experiment with the pulp. Marinades, stews, and braises work wonderfully with the addition of a bit of pulp. As would a big pot of white beans or polenta. Whatever the use, season dishes with the pulp as you would with salt. A little at a time. You can always add more, but it can’t be taken out once you commit.
Simply put, the peel shines finishing dishes where you would normally use just plain lemon. Whereas the pulp works better in slow cooked recipes in which it has had time to integrate into the finished dish. Sometimes a little fresh and preserved lemon in tandem work to elevate a dish. The sky is the limit!

PRESERVED LEMONS
Equipment
- 1 Pint sized glass jar
Ingredients
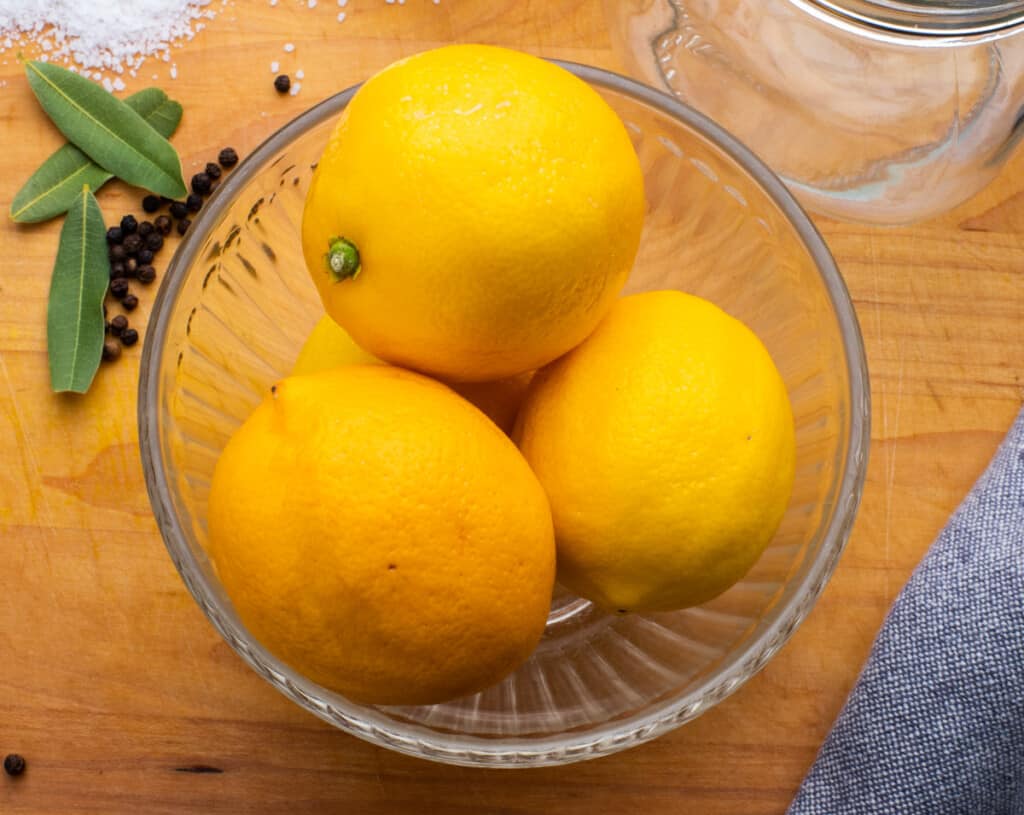
- 6 Meyer or regular lemons
- Kosher salt
- 2 Bay leaves (optional)
- ½ tsp Black peppercorns (optional)
- Juice of 2 lemons, or as needed
Instructions
- Remove the wax by scrubbing your lemons. Do enough so they will fit snugly in your jar and wipe dry.
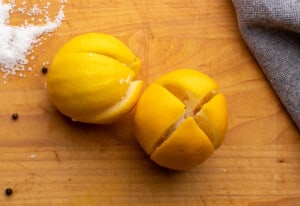
- Cut each lemon lengthwise into quarters stopping about a ½ inch from the bottom so that they stay intact.
- Spread lemons open and generously rub salt on the cut surfaces. Best to error on more salt than to little. Close to reshape each lemon.

- Cover the bottom of your jar with about a ½ inch of salt. Fit each lemon in your jar snugly alternating between peppercorns and bay leaves until its full.
- Press the lemons down to release their juices. Then squeeze enough lemon juice over the top to cover.
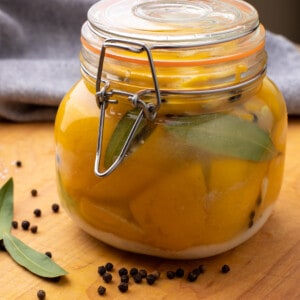
- Close the jar and put in a cool dark spot and let stand for at least a month or up to 3. Every few days, or when you remember give the jar a good shake to redistribute everything.
- To use remove a piece and give good rinse to remove some salt. Make sure the remaining lemons are covered with juice and store in the fridge. They should keep just about indefinitely but best to use them within a year.
Notes
- This recipe is easily scalable for however many preserved lemons you would like to have on hand.
- I find the wide mouth clasp style jars work better, as the acidity of the lemons tends to erode the lids of normal canning jars.


Leave a Reply